

MIA is what I've been lately.
As I'm sure most blogs are throughout the month of December.
Christmas... family....shopping....get togethers, etc. Not to mention job #2 has me up late during the week.
Did you see my Instagram video of the surprise we did? Be sure to turn down your volume (surprise #2 had a curse word in it, sorry), and surprise #2 was blurry (sent to me from another phone).
Sadly I had SOOOO many DIY's to post, just not enough time in the day.
But today, it's Christmas. Enjoy time with your family, relax!
This year is the first year my husband has been home in 3 years for the holiday's. Super excited!
The DIY I bring you today can be for ANY time of the year. Wreaths! I wanted to do this one I found on Pinterest. Sadly, mine did not turn out the way I wanted to, maybe the placement of the Poinsetta? Who knows, but regardless, it's a wreath DIY that many of you are curious about.
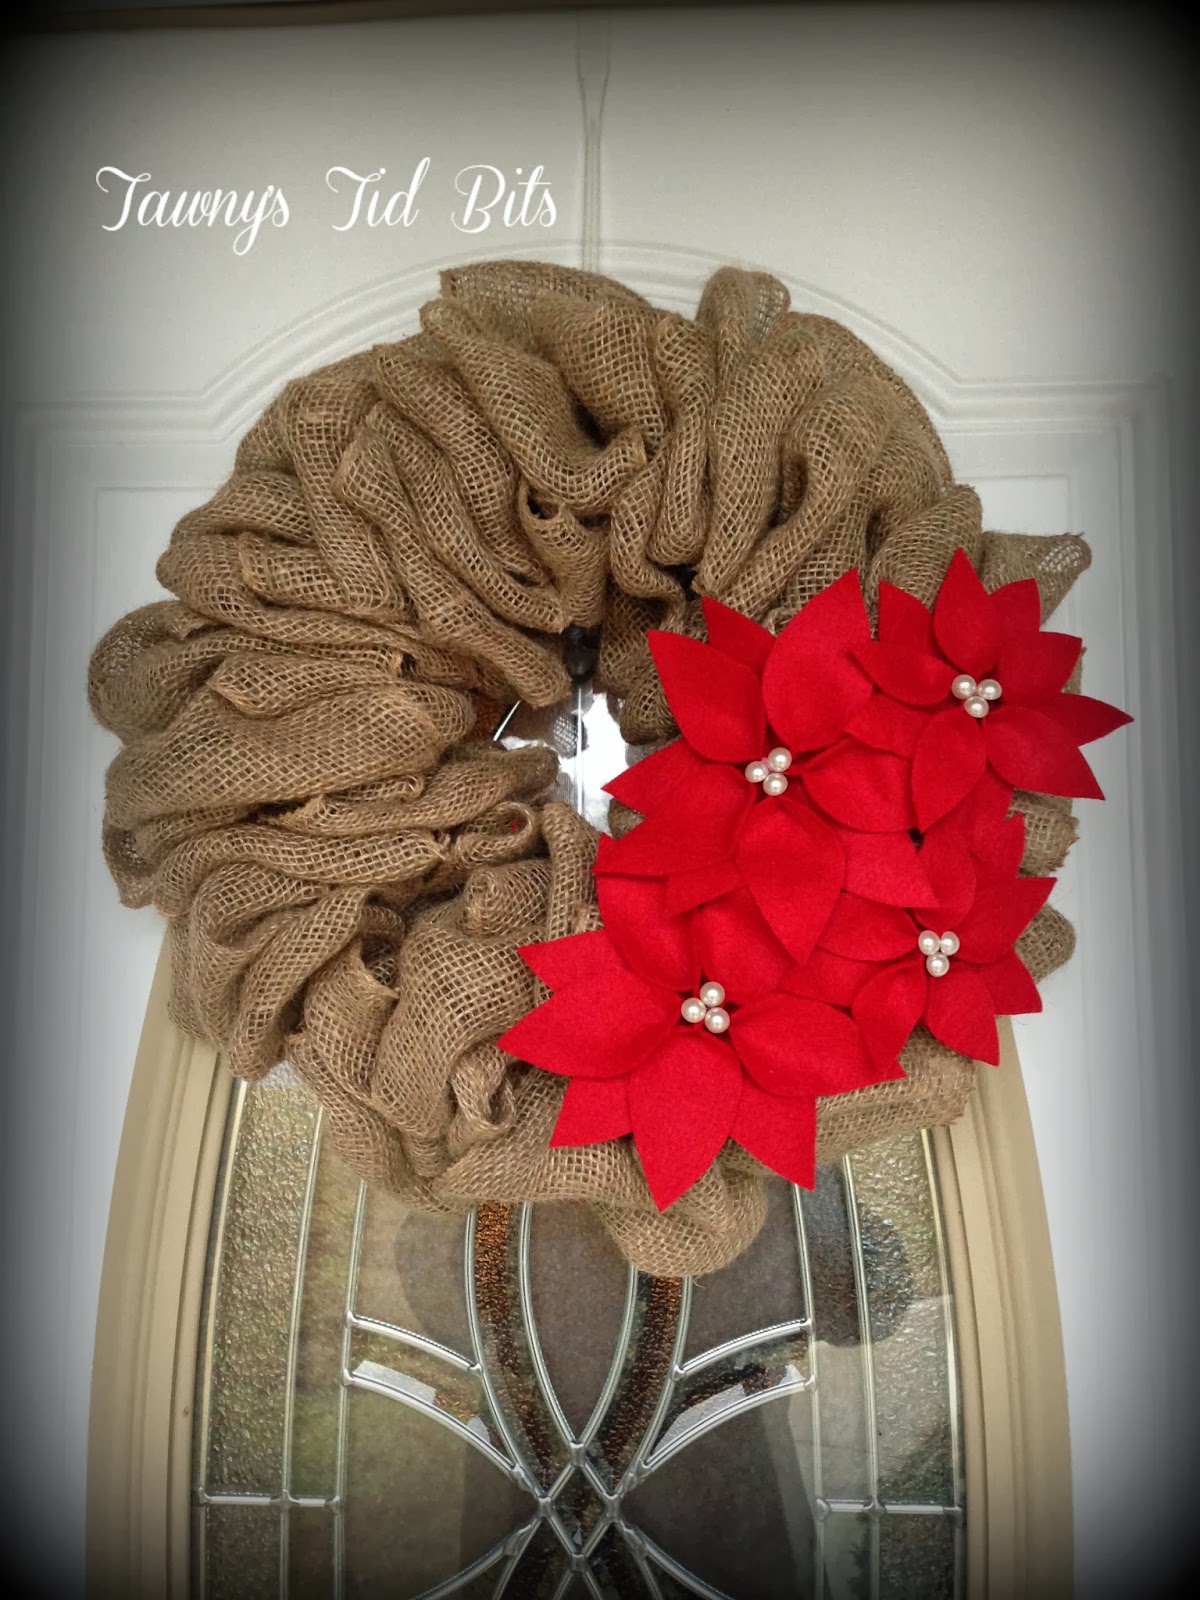
For the wreath part (burlap) you'll need: burlap ribbon (5 at 15 feet each, Hobby Lobby sells them), pipe cleaner (color is up to you), wire wreath (this one is almost 12 inches in diameter).
I posted a video below and also verbal steps and pictures below that.
If you want steps (pictures below), here they are:
- Secure the beginning of your ribbon with the pipe cleaner to the wire form (from the bottom on the wreath)
- You will push up loops through each section of the wreath.
- You'll push loops up as follows: Middle, Top, Middle, Bottom, Middle, Top, Middle, Bottom, etc. Basically you'll ALWAYS go back to the middle.
- You can make the loops as tight or as loose as you want. Also as big as you want, but try to stay consistent. You you have a view bigger at the end, no problem, it's fixable.
- Once your ribbon is finish, secure it to the wreath form and start another.
 |
| This is how I secure it. |
 |
| Pushing the loops through (from the bottom part of wreath) |
 |
| Slide it over, go to next section. |
 |
| Here is one section (15 foot of ribbon) |
For the Poinsettia, the printable cut outs, directions, and "ingredient's" can be found at here Better Homes and Gardens.
It called for freezer paper, which I didn't use. I just saved some money, traced them with a permanent marker and cut inside my traced part (so no black was on the red).
I also used clips because I didn't have clothes pins. You can also use the hangers that hang up jeans, they work just as well. I used those too because I made more than enough of these, but ran out of clips, so I used those hangers, just didn't take a picture.
I ALSO used pearl stickers (that I later had to hot glue on) instead of punching out white felt like they mentioned.


Gluing these bad boys together was a hassle!!!! I wish I would have made the centers tighter, then my pearls wouldn't have looked so bad. I fixed that when I hot glued them (poinsettias) to the wreath. :)

Now you see what I mean with the placement of the Poinsettia? Maybe I should have done what the Pinterest link showed. Small, big, small?
Now the cool thing is, you can also make ornaments! Just hot glue ribbon to the back of it and there you have it!

Be sure to check out this Mesh Wreath Tutorial I posted earlier in the year. It's a totally different concept and materials, but you'll get the same effect!

Merry Christmas, Tawny!
ReplyDeleteAnd the wreath still looks super pretty!!