I hope ya'll had an amazing Christmas and got everything you asked for.
I need to find time to take down our tree before all the needles fall off. Would like to do that BEFORE new years, but I'm not quite sure I'll find the time!
If you'd like to join us just simply grab the below button and add it to your post. Be sure to follow Neri and I on our Instagram too!
<div align="center"><a href=" http://www.tawnystidbits.blogspot.com/search/label/Insta-Recap%20of%20My%20Instagram" title="Tawny's Tid Bits"><img src="http://i1357.photobucket.com/albums/q748/tyeager2/InstagramRecap300x169_zpsbda92493.jpg" alt="Tawny's Tid Bits" style="border:none;" /></a></div>
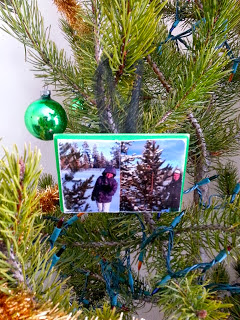
12-23-13 To my surprise I got this lovely Christmas card from Amberly! Love stuff from other bloggers! Makes my day!
12-24-13 Lilli patiently waiting to open her gifts! A few videos of her opening her own gifts on my Instagram, be sure to check it out!
12-24-13 Christmas dinner with the inlaws! Nothing traditional was a nice change up because we did alot of turkey eating the past week.
12-25-13 And this was the wreath I was talking about above! Like? Go check it out!
And I'll leave you with a video. Christmas morning I cooked breakfast for the husband and I. Dogs got some of what we were eating too. Take a look at this funny 15 second video!
MIA is what I've been lately.
As I'm sure most blogs are throughout the month of December.
Christmas... family....shopping....get togethers, etc. Not to mention job #2 has me up late during the week.
Did you see my Instagram video of the surprise we did? Be sure to turn down your volume (surprise #2 had a curse word in it, sorry), and surprise #2 was blurry (sent to me from another phone).
Sadly I had SOOOO many DIY's to post, just not enough time in the day.
But today, it's Christmas. Enjoy time with your family, relax!
This year is the first year my husband has been home in 3 years for the holiday's. Super excited!
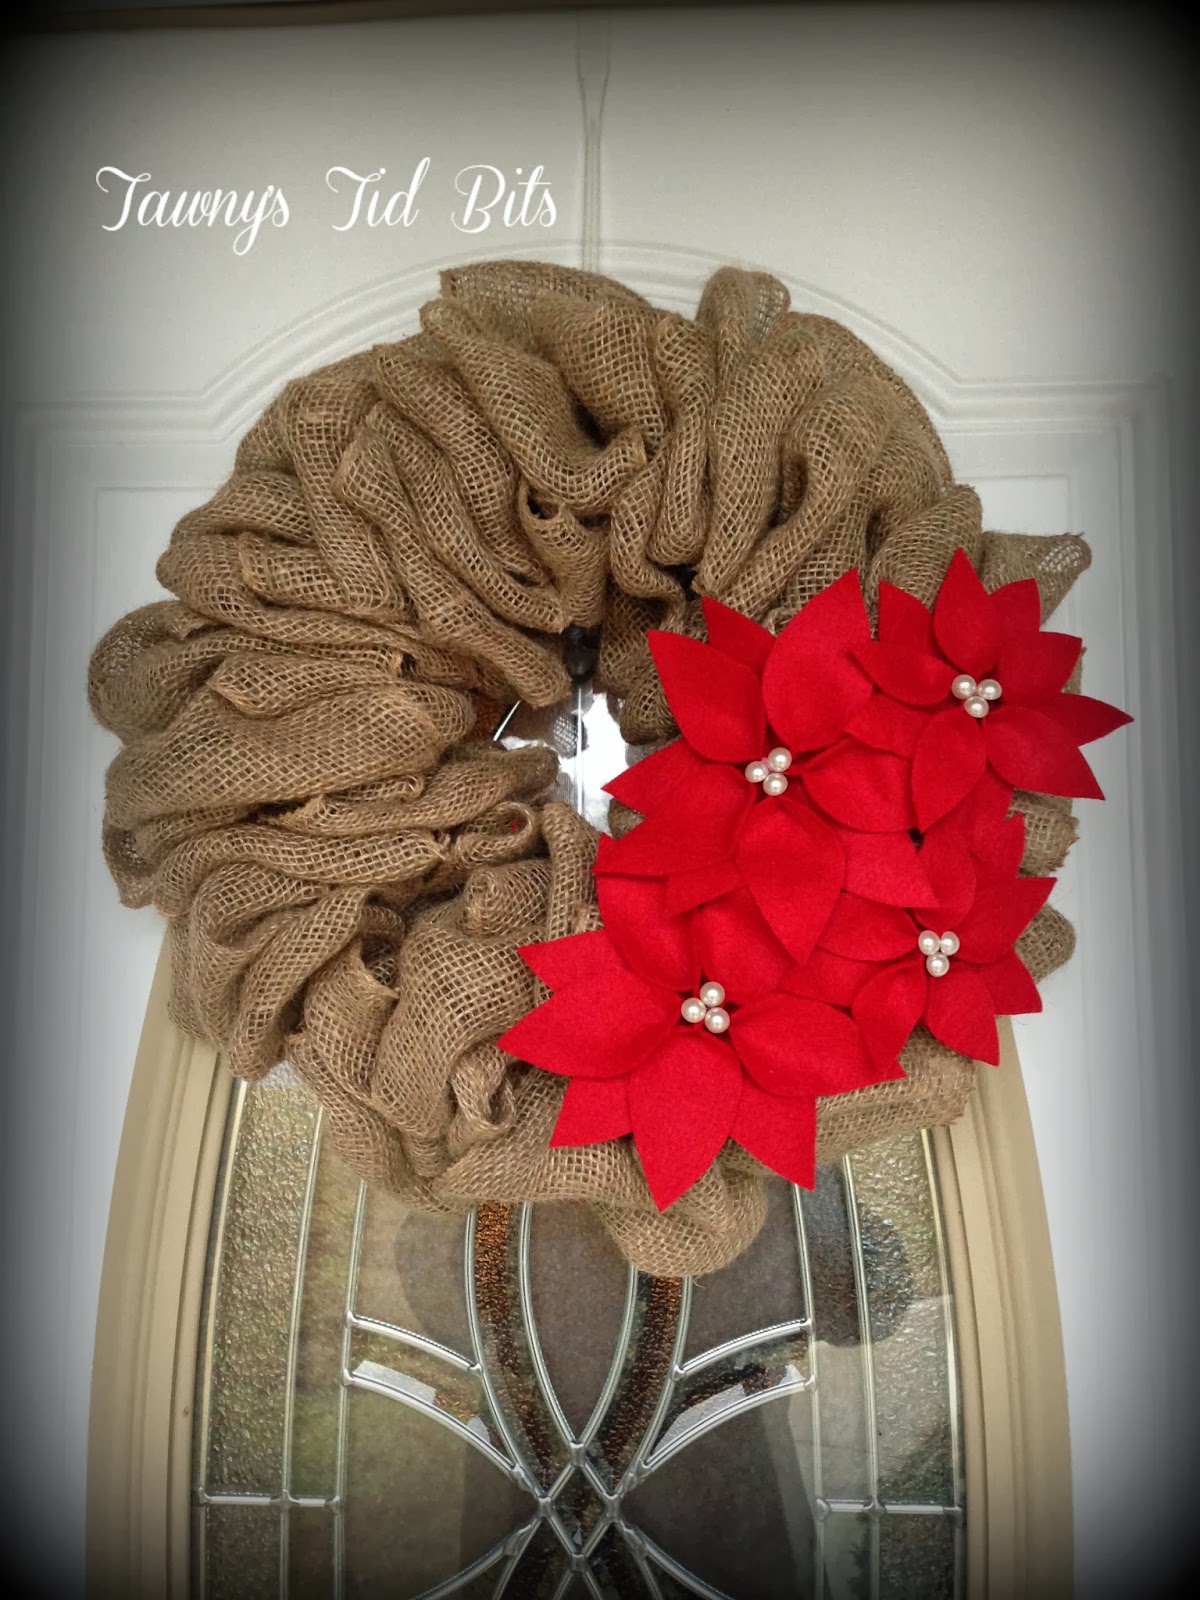
The DIY I bring you today can be for ANY time of the year. Wreaths! I wanted to do this one I found on Pinterest. Sadly, mine did not turn out the way I wanted to, maybe the placement of the Poinsetta? Who knows, but regardless, it's a wreath DIY that many of you are curious about.
For the wreath part (burlap) you'll need: burlap ribbon (5 at 15 feet each, Hobby Lobby sells them), pipe cleaner (color is up to you), wire wreath (this one is almost 12 inches in diameter).
I posted a video below and also verbal steps and pictures below that.
If you want steps (pictures below), here they are:
Secure the beginning of your ribbon with the pipe cleaner to the wire form (from the bottom on the wreath)
You will push up loops through each section of the wreath.
You'll
push loops up as follows: Middle, Top, Middle, Bottom, Middle, Top,
Middle, Bottom, etc. Basically you'll ALWAYS go back to the middle.
You
can make the loops as tight or as loose as you want. Also as big as you
want, but try to stay consistent. You you have a view bigger at the
end, no problem, it's fixable.
Once your ribbon is finish, secure it to the wreath form and start another.
This is how I secure it.
Pushing the loops through (from the bottom part of wreath)
Slide it over, go to next section.
Here is one section (15 foot of ribbon)
For the Poinsettia, the printable cut outs, directions, and "ingredient's" can be found at here Better Homes and Gardens.
It called for freezer paper, which I didn't use. I just saved some money, traced them with a permanent marker and cut inside my traced part (so no black was on the red).
I also used clips because I didn't have clothes pins. You can also use the hangers that hang up jeans, they work just as well. I used those too because I made more than enough of these, but ran out of clips, so I used those hangers, just didn't take a picture.
I ALSO used pearl stickers (that I later had to hot glue on) instead of punching out white felt like they mentioned.
Gluing these bad boys together was a hassle!!!! I wish I would have made the centers tighter, then my pearls wouldn't have looked so bad. I fixed that when I hot glued them (poinsettias) to the wreath. :)
Now you see what I mean with the placement of the Poinsettia? Maybe I should have done what the Pinterest link showed. Small, big, small?
Now the cool thing is, you can also make ornaments! Just hot glue ribbon to the back of it and there you have it!
Be sure to check out this Mesh Wreath Tutorial I posted earlier in the year. It's a totally different concept and materials, but you'll get the same effect!
It's Sunday!
If you're here for the Instagram Recap, we've decided to take a break this week.
With Christmas right around the corner we were spending time with family.
BIG THANKS to everyone who participated and commented on THE 12 DAYS OF DIY ORNAMENTS! It was a GREAT success! I even threw an extra one in there, but sure to check it out!
If your are here looking for that particular ornament, click on the picture and it will bring you right there!
Oh, and just for fun, if you've got a DIY ornament you want to share, be sure to link up below!
Day 1 - Sequin Ornament
Day 2 - Wooden Letter
Day 3 - Santa Key
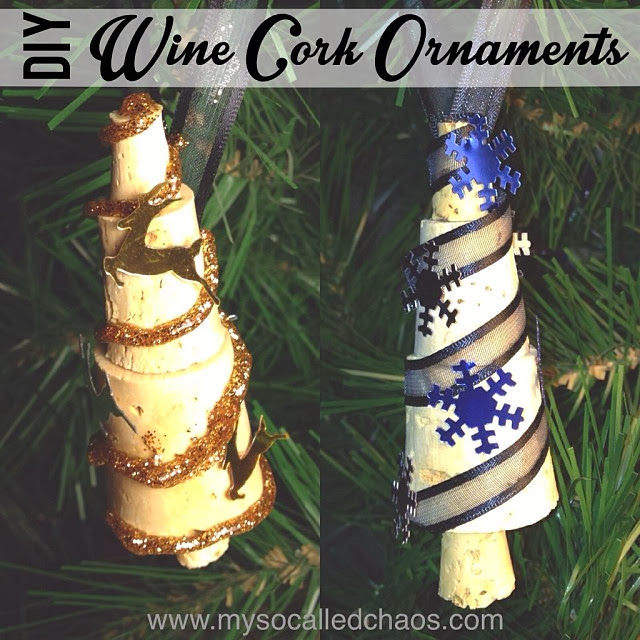
Day 4 - Cork Ornament
Day 5 - Picture Printed on Fabric (with stitching)
I have been eyeballing this tree skit for awhile now.
I can't sew, well I haven't tried, so let's just say I can't.
So, hot glue.... perfect!
You can get the yards of burlap, but when you cut it, it will frey.
I didn't want that. So I waited until Hobby Lobby had burlap ribbon 1/2 off and grabbed up what I could.
I think I used 9 red and 5 tan (there is less the picture below, I had more). I know how many rolls I used, just not of the color total since the packages aren't coordinated to color (sku).
Target has a $5 48" red felt tree skirt. It's there, I promise, just gotta look for it.
And LOTS of hot glue. I used about 2 bags of the mini ones. You wanna make sure it's snug!
The problem I found making this was getting each "fold" to stay down flat, so I used a dictionary and just moved it behind me.
Then you wanna make sure the hot glue stays glued to each other I used the remotes I had laying around. I know.... but I wasn't sure what else to use. I did not place the remote on the hot glue, just on the top to apply a little pressure. You'll see how I used it in the video, but here is a picture.
Yes, Tawny can't make a circle. I noticed I went straight when starting off, which I needed to turn. Which resulted in not a perfect circle, but come on, who is gonna notice? And again, see my use of the dictionary and remotes?
Sarah kept me company, mainly dropping her hedgehog on the material so I could throw it.
Maggie just held it down for me, why? No reason.
Here is a video of what I did and how much I glued each time. Excuse the "ok" I said, I meant for my husband to only record 1 fold, he kept recording.
And here you see how much I messed up. Oh well. We all aren't perfect, right?
So I just cut it. Simple.
The use of the dictionary helped lay the material down. If I didn't do that, all the folds probably would have puffed up and made it not look good.
I seriously thought, I can do this in 1 sitting. NO!
I did the first layer 1 night, the 2nd layer the next, then 1 1/2 layer the next, etc.
Oh and watch out for the hot glue.... it hurts and it will get you when you least expect it and where you least expect it.
I had burns in many places on my hands and wrists.
Enjoy! It's pretty simple, just very time consuming!


.JPG)
.JPG)


.JPG)
.JPG)