
I am fairly new to blogging, I started my blog in March but didn't get real serious about it until around May. I am still trying to find my blogging niche, but it is coming along. I live in the city centre of a major city in Canada, this is my second big city I've lived in the middle of and love it. I love sharing our city experiences and hopefully inspire others in my city or those who want to visit to see some of the amazing things our city has to offer! When I am not out and about in the city I am a fitness fanatic, I love doing DIY projects & organizing my little apartment. Feel free to pop over to my About Me page and learn a little more!
Now, on to the fun stuff! Originally I was going to do a deco mesh wreath tutorial, but that will have to come another day because we have had super poor lighting due to storms coming through the area, so I decided to write up a post I took the pictures for a while back that I had been planning on doing and just had never gotten to it!
This project is a great one because it is versatile. It can be done for a Christmas Tree, or if you buy a hook like this could be done for a decoration for a little girl's room or a dorm room!
Glitter Christmas Ornament
I am sure you have seen these all over the internet, however, the ones I have found use some sort of mop solution. As you can see from my DIY page I love doing things with a more natural flair. So, I found this awesome glue and decided to make these ornaments happen...here's how:
Supplies:
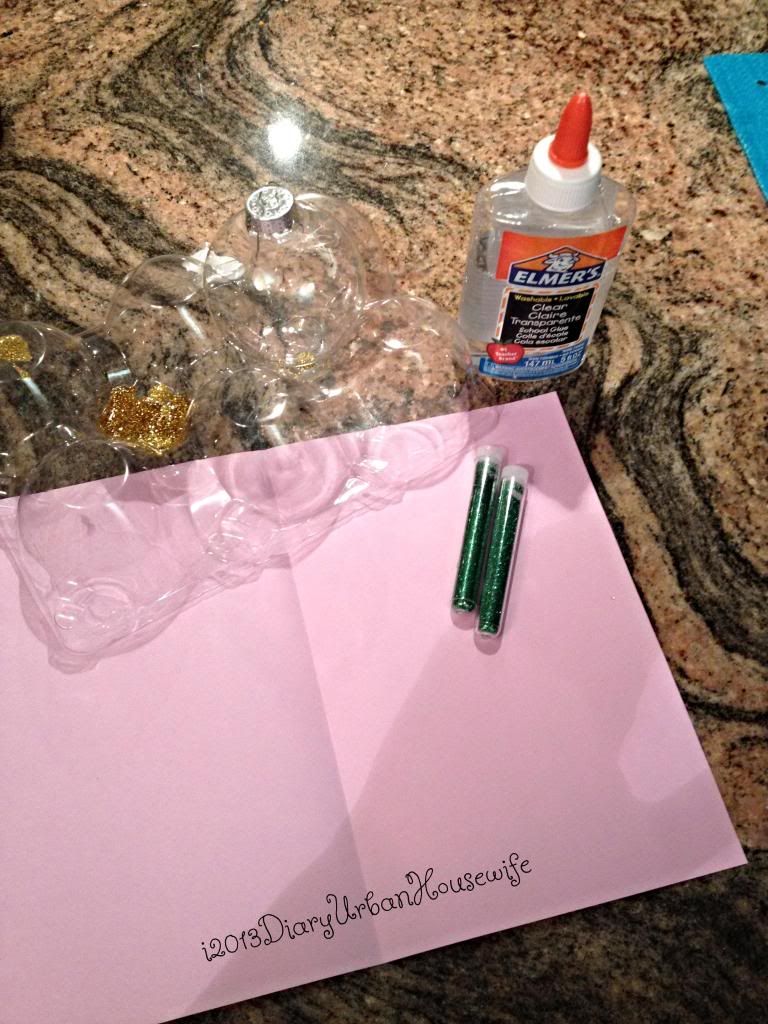
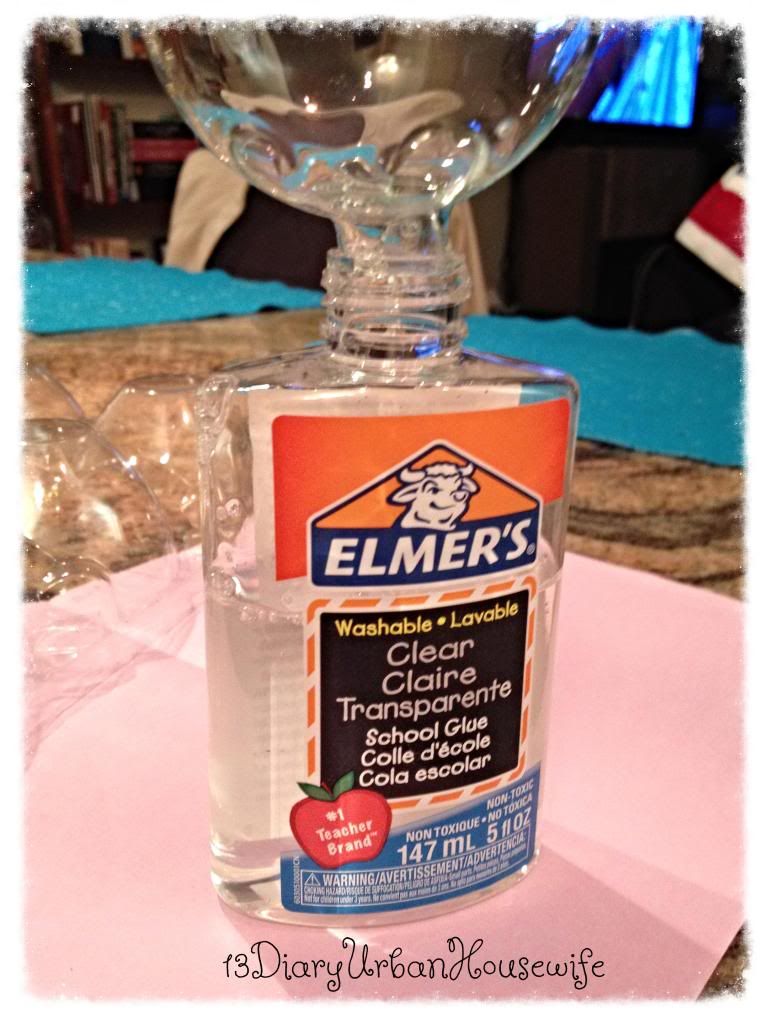
-Elmer's Clear Glue
-Glitter in color of choice
-Empty ornament
-Piece of paper folded in half
-Sharpie (optional)
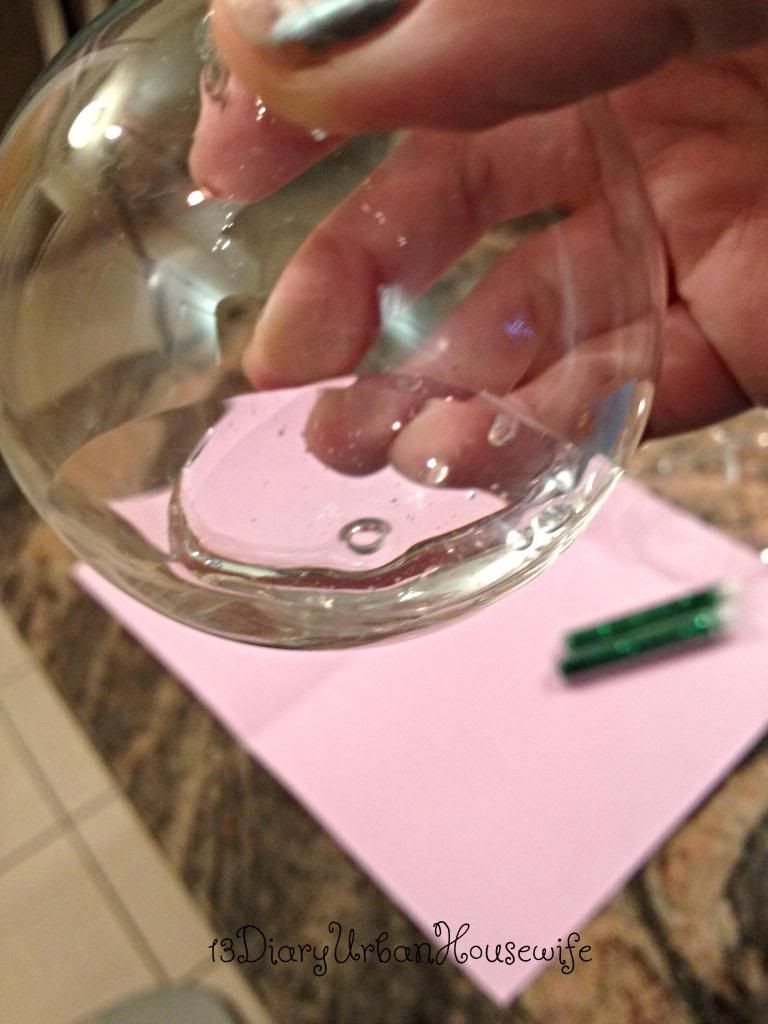
First, pour a little of the clear glue into the ornament. Don't be shy with it, swirl it around quite a bit to coat the inside of the entire ornament with glue. Next...
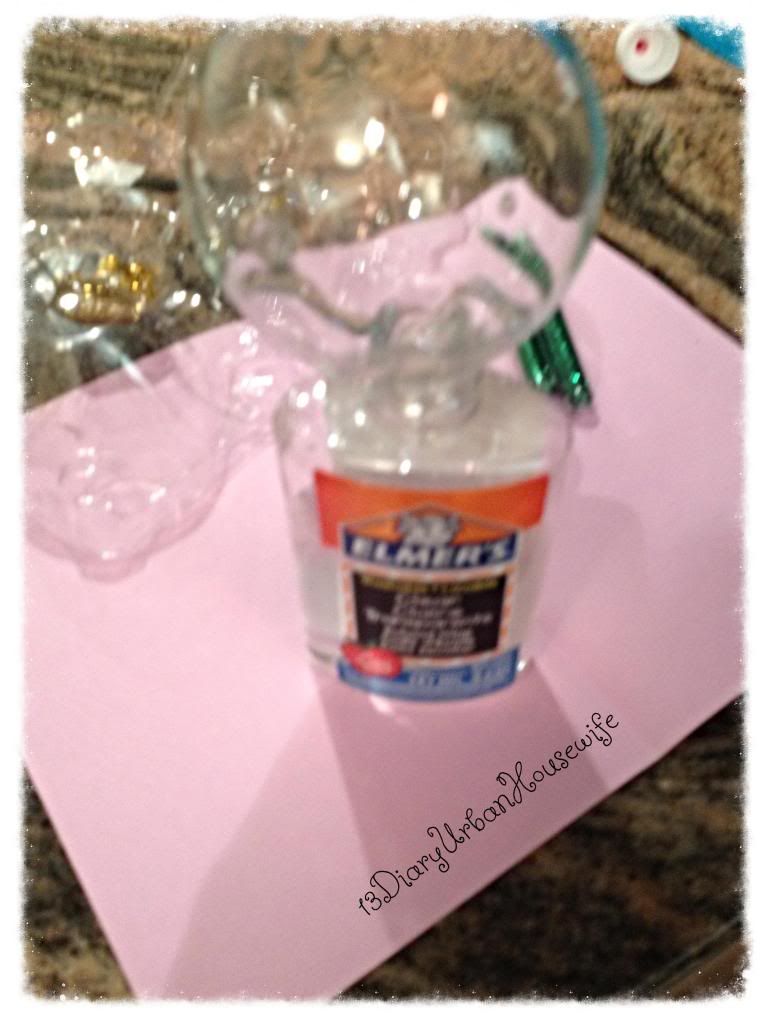
Drain the extra out of the ornament. I found the best way to do this was just to prop the ornament into the top of the glue and let it drain back in to the bottle. I let it sit there for a while, maybe 5-10 minutes...don't worry it won't all drain out, I promise! After letting it drain to get the excess out...
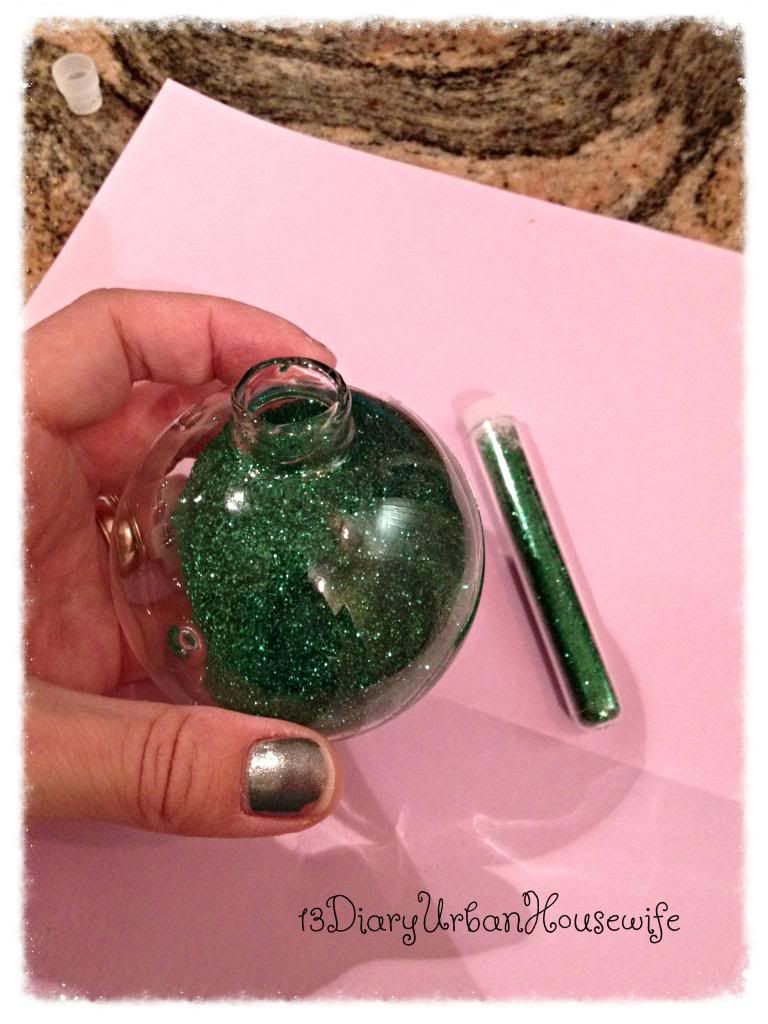
Pour the glitter in and swirl it around to cover the whole ornament in glitter.
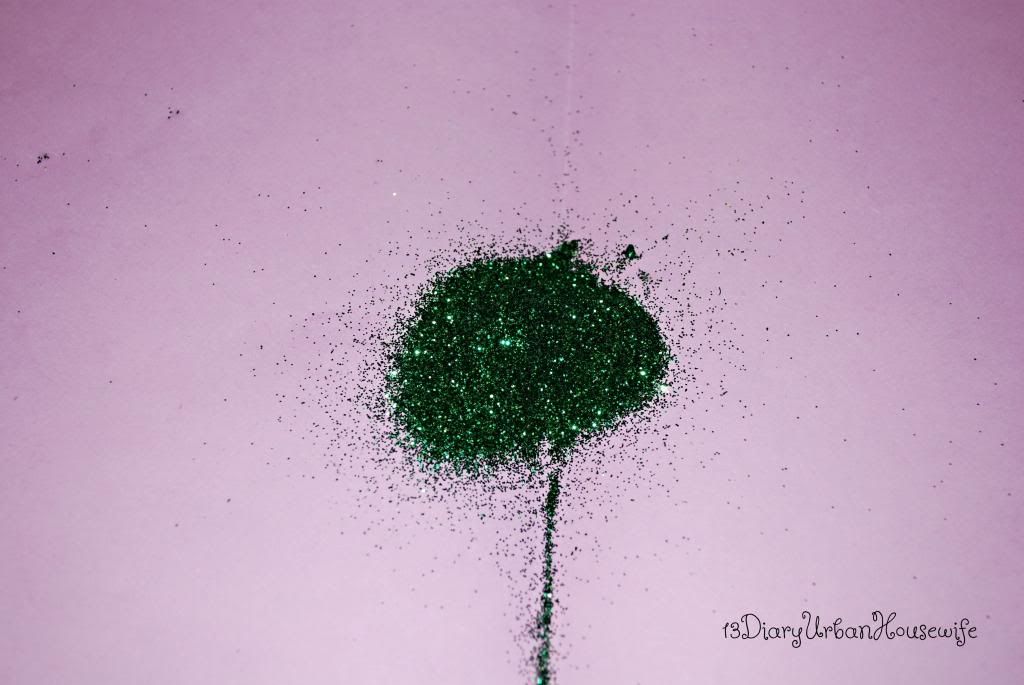
Shake out any excess glitter onto the folded sheet of paper for use later on.
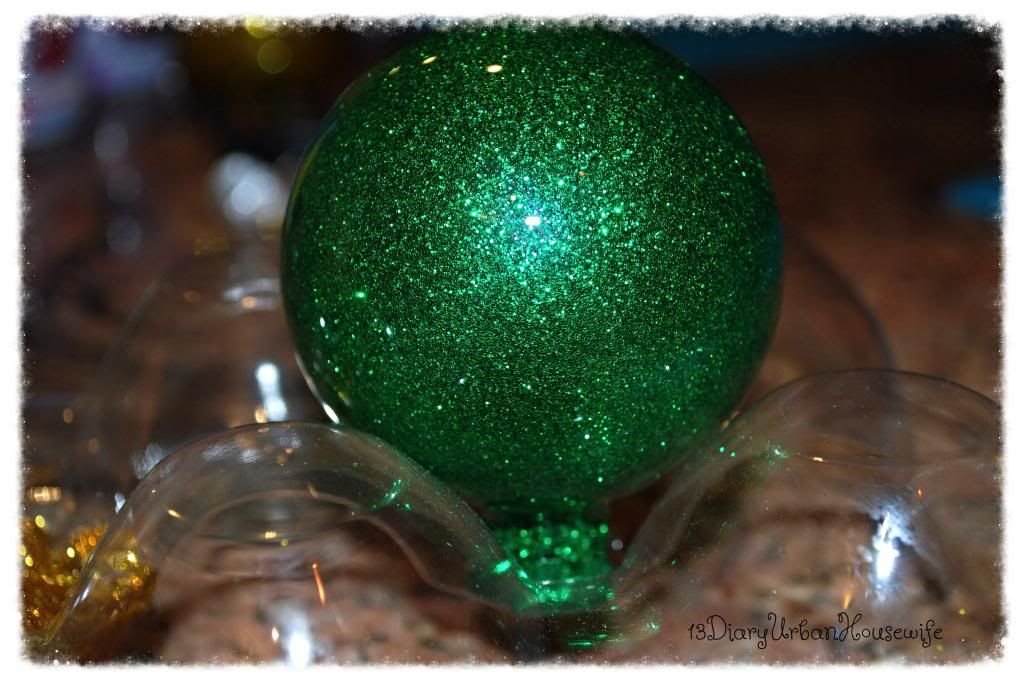
Then, turn the ornament upside down to let some of the excess glue/glitter drain out. I have found the lid that that ornaments come in are really good for this. They prop up the ornament & let it drain, then you can toss it! Otherwise, if you just bought a single ornament you can prop it up into a small cup or a disposable cup for easy clean up!
There will be some glitter "holes" once the above step is done so the leftover glitter that you dumped out on to the paper, just sprinkle that back in and move it around and drain again. Repeat until the ornament is covered in sparkles to your liking! Let it dry for a few hours before putting the lid on. As it dried I did move it around some to avoid "settling" of the glue. But, since you drain so much of the glue out, if you forget to move it, it really is not a big deal.
This is the finished product....
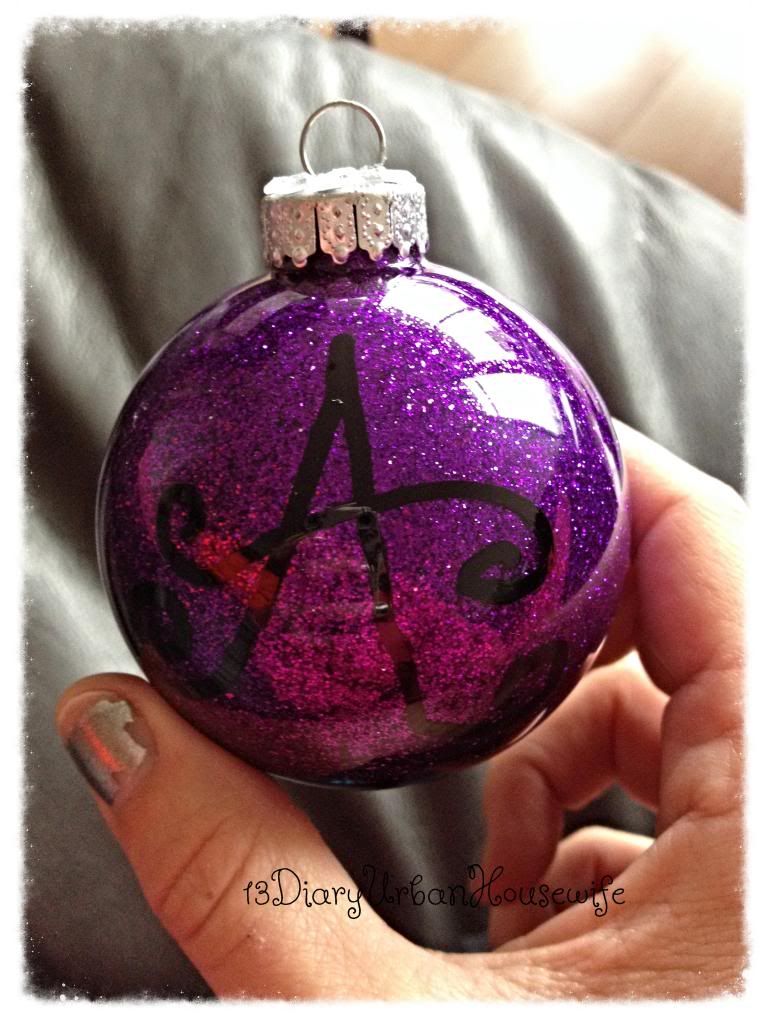
I used a sharpie to freehand the initial of the recipient on the front...
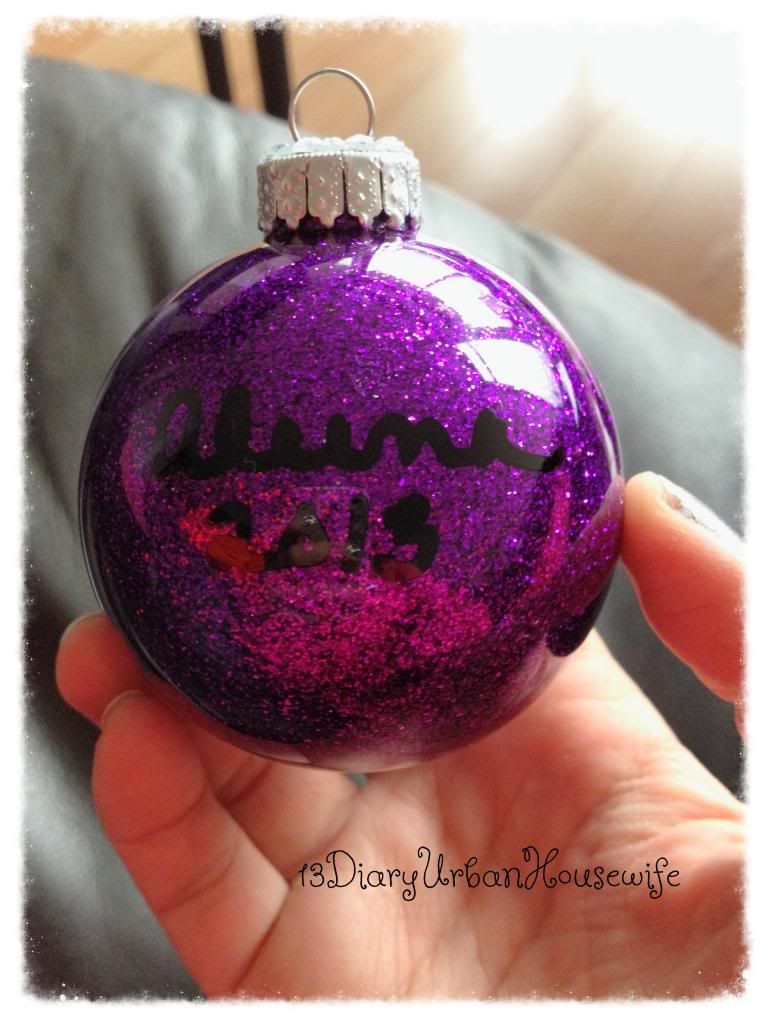
Then on the back I wrote her full name and the date.
If you have cricut machine you can cut vinyl to stick on there. That would give you more versatility to cut a shape or something.
I made six of these in one weekend. I managed to finish all six in under 2 hours and they were dry and ready to go the next day!
I hope you all enjoyed this tutorial! If you want more like it come and follow me on Pinterest, Instagram, Facebook, and Twitter!
This is such a fun and easy ornament. I have a group of art kids that come once a week and I think this will be our next project.
ReplyDeleteThank you.
Kate, that is BRILLIANT! I love glitter, but not the mess it leaves all over the place when handled, and here's the perfect solution...glitter INSIDE the ornament. Yay! Thanks so much for posting that!
ReplyDeleteAnd thanks to both of you for joining in the guest post swap- I'm so glad you had so much in common, and hopefully can inspire and assist each other. :)
Thank you, ladies...I am so glad you enjoyed it! :)
ReplyDelete